
Eric Kervina's Proto-Form
Sep 23, 2017 #vacuum-forming #proto-form #builds
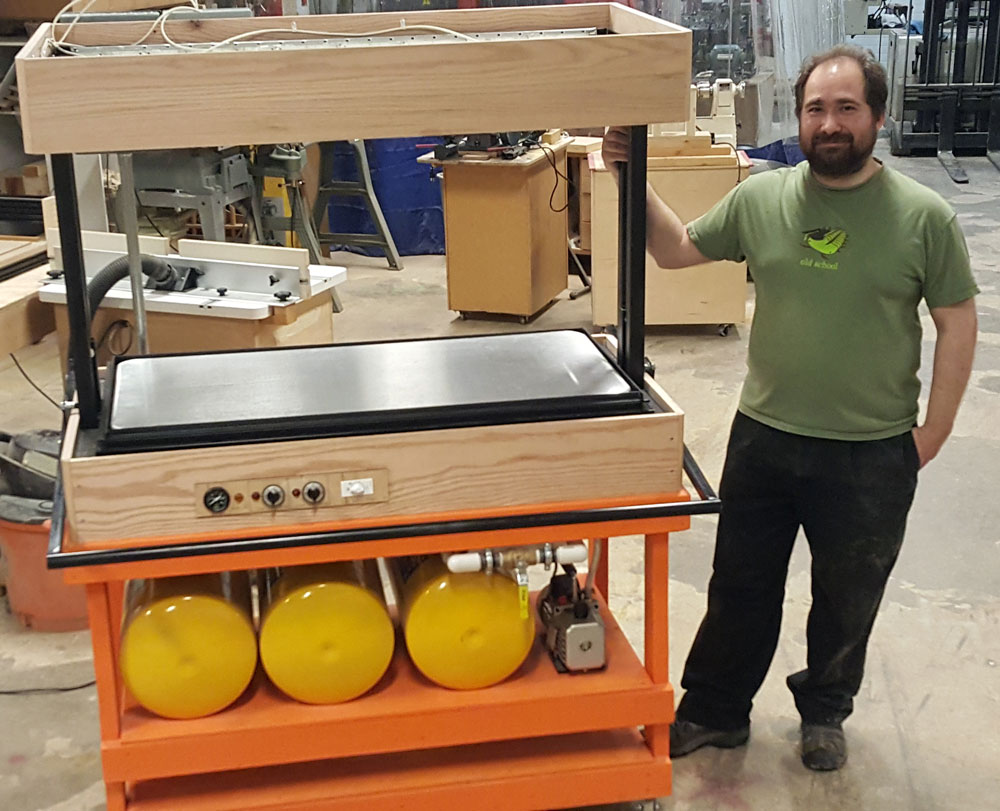
Eric's two stage Proto-Form
We’ve started a blog here at Workshop Publishing and we think there’s no better way to kick it off then with this fantastic build story from Eric Kervina. Eric is a member of Nova Labs, a Virginia makerspace. He finished his Proto-Form vacuum former in early 2016. The following is Eric’s unedited response to these questions:
- How did you plan your build?
- What are you planning to make with your machine?
- Are you planning on using 3D printed parts as a buck?
- What kind of challenges did you face during your build? How did you solve them?
- What kind of interest has the machine garnered at Nova Labs? Do you have many members that are wanting to learn to use it?
From Eric:
To answer your several questions directly, I didn’t do much planning of the build aside from what is laid out in the plans as purchased. I did take a few things into consideration, however. For example, I went with the 2’x4’ size, and skimped a little on the pump to keep costs down a bit. My reasoning was that I can always go to a bigger pump later, but making a bigger oven and forming bed would mean building a second machine.
My personal plans for projects include several scale model projects, and probably some costume armor. Also, I am a board gamer, and some of my board games have a lot of components, so I plan to make some organizing trays for gaming components. Other Nova Labs members are planning (or have already made) parts for quad copters, terrain for miniature wargaming, art projects, tool surfaces for carbon fiber and fiberglass lay-up, automotive parts, safety shields for power tool moving parts, and so many other projects I can’t remember them all.
We have considered using 3D printed parts as a buck, but we haven’t experimented with it yet. I am concerned that the rough surface on most 3D parts might cause issues with locking to the plastic, so we will probably end up doing some sort of smoothing with autobody filler or something like that. I’m also a little concerned about heat transfer damaging #D-printed parts, but we’ll see. That may not be an issue. During the classes we have run, several students have cut wood or MDF patterns using our laser cutter, and them formed plastic over those. We have also made a part using a buck that was milled on one of our CNC routers. (I will see if I can get you some decent pictures this weekend when I teach another class…)
There were a few challenges during the build. One was that as the plans have been developed, some of the changes haven’t been as well-documented as they might be - for example, there is a circuit designed to run fans, but the fans are not otherwise mentioned in the build instructions, and it wasn’t clear to me that since I was using infinity switches for temperature control, I didn’t need some of the other switches listed in the materials. Thus, I purchased a few parts that I really didn’t need. Most of that sort of problem was solved by shrugging and moving on, but could have been avoided by a more careful reading of the plans and instructions. Another issue was that some of the parts listed in the materials are either very hard to find or no longer available. Finding substitutes that I knew would work meant doing some research and figuring out what the actual critical characteristics of the parts were. Ultimately the result of that research was a fuller understanding of how the machine works, so while it was a challenge, it was one I am happy to have encountered.
The interest in the machine has been amazing.
Probably the biggest challenge I had was mental. Part of my goal with this build was to learn to weld. I had a friend teach me the basics - he welded up the pillar pieces, where it was more critical to get things right, and I did most of the rest. Throughout the entire process, I was intimidated by my new skill, and often unhappy with my results. That resulted in a lot of procrastination as well as some re-work, but ultimately was an incredible learning experience. I am not as good of a welder as I hope to be one day, but I think I am past the point where I will make up excuses to work on other projects when it is time to put on the welding jacket, so I consider that problem truly solved. There is one problem we haven’t solved - it seems that when I was assembling the forming surface, the silicone sealant ended up having a gap somewhere, so when the vacuum valve is opened, there is a leak from the lower edge of the forming surface. Locating and sealing the leak is an ongoing project, but the leak is slow enough that the machine is still usable.
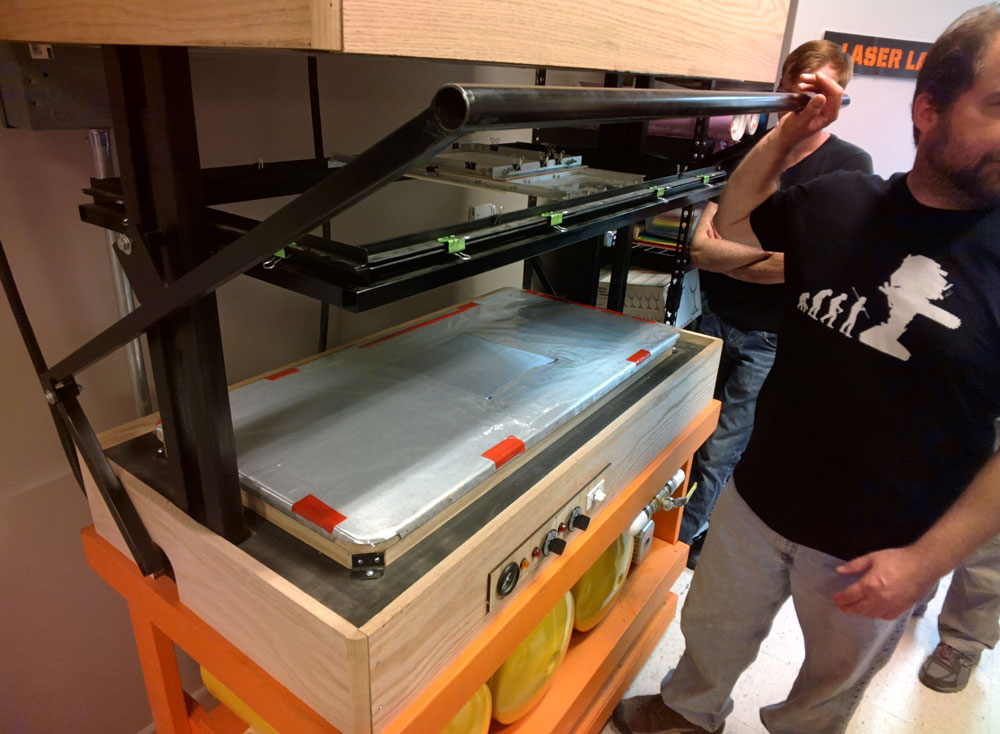
Eric demonstrating his Proto-Form at Nova Labs
The interest in the machine has been amazing. Because of the potential hazards of using the machine, we determined that anybody who wanted to use it would need to be checked out on it first. When the machine was first completed, I worked with some of the other members who already had some thermoforming experience, and we were sort of starting to teach people one by one how to use it. Very quickly, it became obvious that there was great demand for it. One individual built the 1’x1’ adapter seen in the video in exchange for training on the machine. I worked with a couple of the other members to develop a training presentation, and once we were comfortable with it, we offered the class through meetup.com, which is the standard way Nova Labs schedules and coordinates classes. All five student slots were filled in less than an hour. I taught three classes of five students each in June, and I have four more scheduled for July. Classes are no longer filling in under an hour, but even three to four weeks ahead of time they are filling up in a matter of days, and people are getting on waiting lists. I go to Nova Labs two to three times a week, and each time, I am cornered by someone who is trying to get into the class but can’t seem to catch an open slot.
I think next time I build a tool, it is going to be something boring. Maybe a hammer. That way I’ll have time to use it instead of training others to use it! (Just kidding - I am so pleased that everybody is enjoying and using the Proto-Form. It is such a thrill to see the cool stuff they are making with it.)
Resources from this post
- Thermoforming at Nova Labs
- Proto-Form announcement at Nova Labs
- About Nova Labs
- Proto-Form build plans used for this build
Photos, video and content for this post by
- Andrew Albosta
- Eric Kervina